Production Piece and Portfolio
For my emerging technology project I wanted to create and design an outlet that allows people struggling with mental health issues to find solitude in a virtual environment. The user will be able to access 360° environments I’ve created based off of magical, dreamlike scenarios and use them as a way to de-stress from their day to day life. I’ve always enjoyed creating art so to be able to utilise my enjoyment with painting in this project will heavily motivate me into making something I believe will be beneficial to the targeted end user and once I started learning Open Brush and using the VR headsets I knew it held the capabilities for what I wanted to design.
This project will be named ‘Sleep Walker’ as the user will be transported into a dreamscape that they can move around in fully whilst also being fully conscious.
This project will include 3 various habitats, all with differing elements that make them unique to one another in order to try and offer different visuals in order for the user to hopefully take enjoyment from at least one of them.
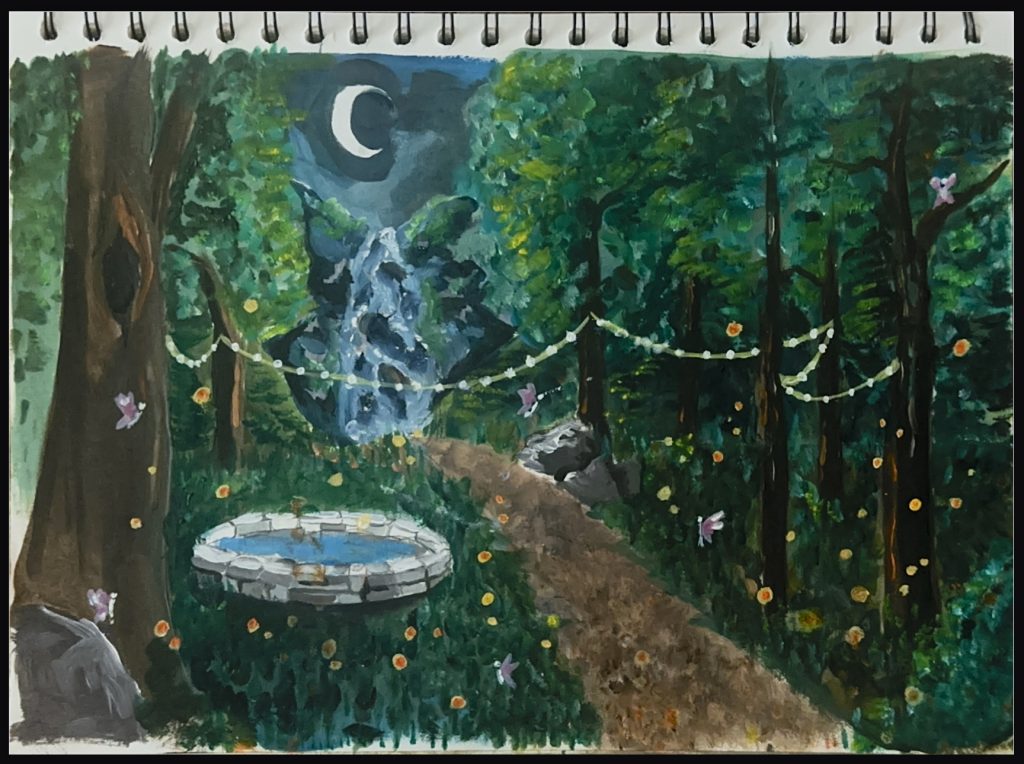
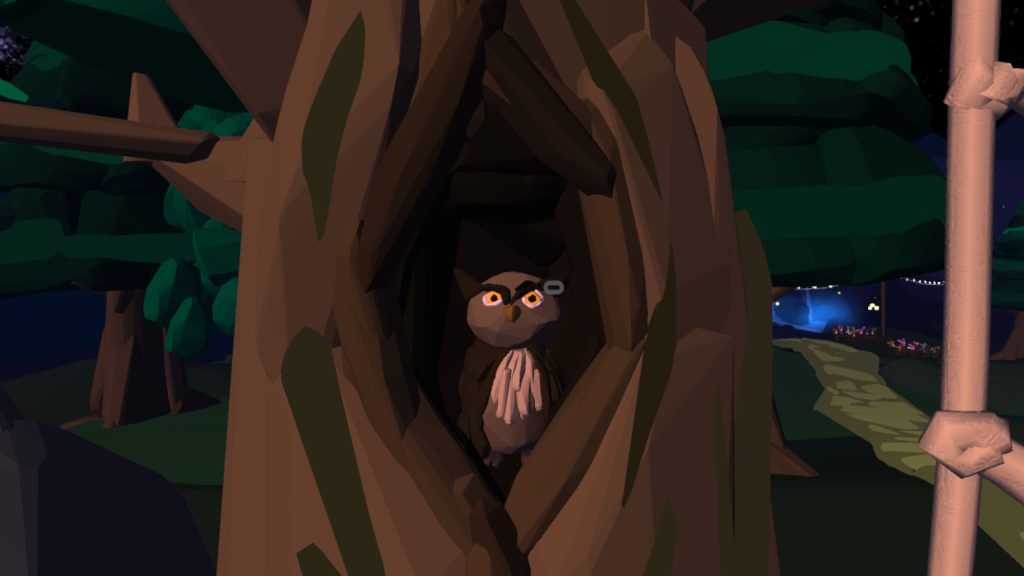
- Twilight Forest – The first scene will take place during the evening in a fantasy forest with the moon high in the sky. The dark setting could easily do the opposite effect of calming the user but through the use of warm lighting and inclusion of animal characters I hope that that won’t be the case. Instead the evening setting could induce feelings of sleepiness and comfort. The scene will have a clear pathway winding through the forest in order to work as a guide for the user to walk down and not get lost within the trees.
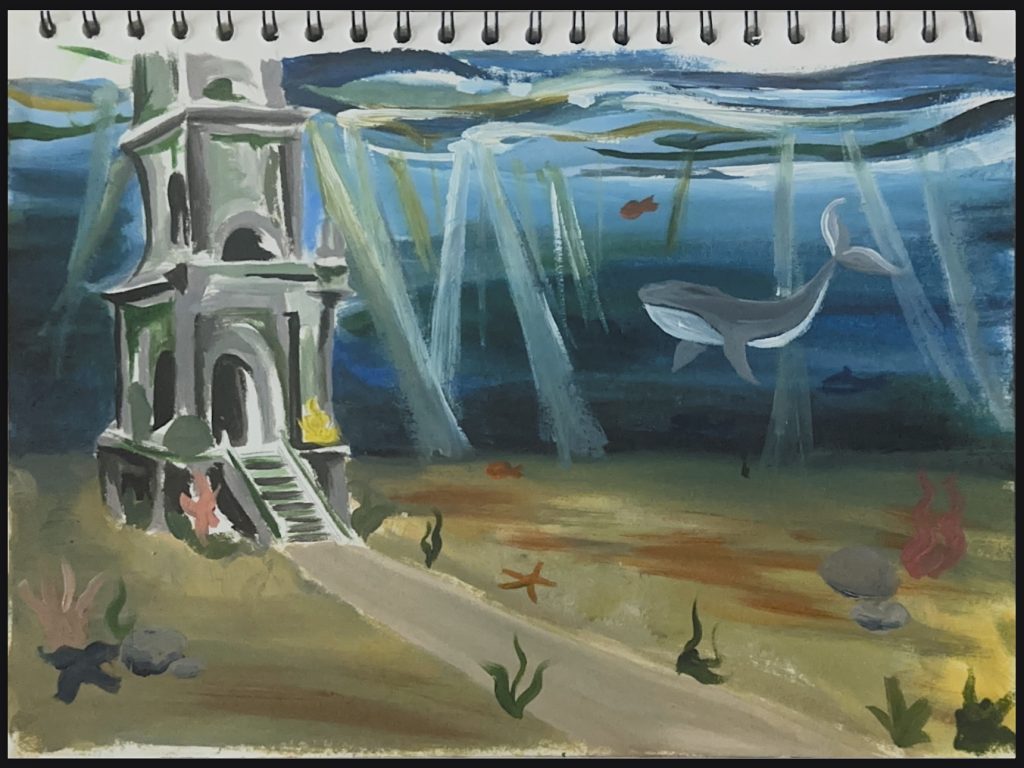
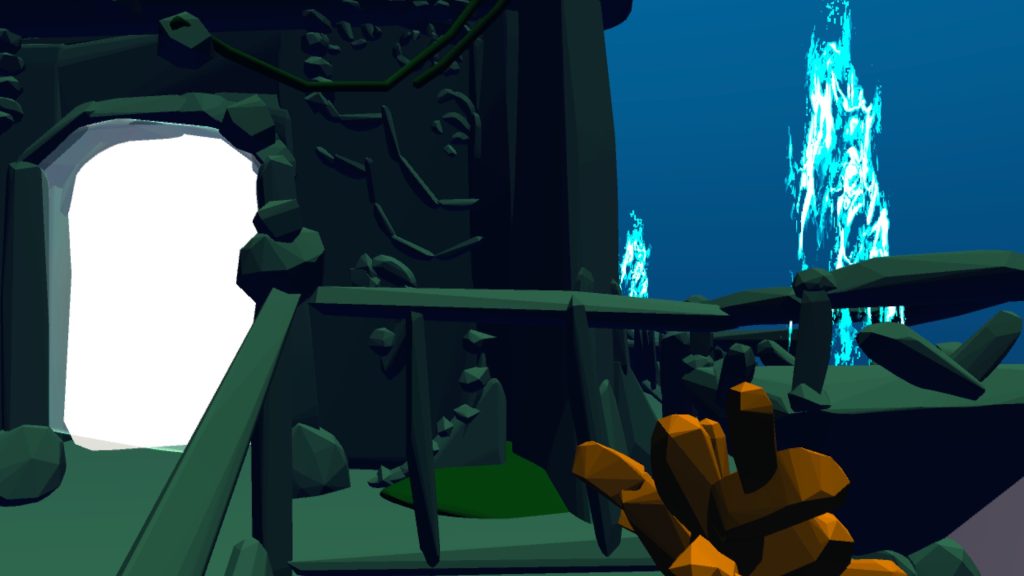
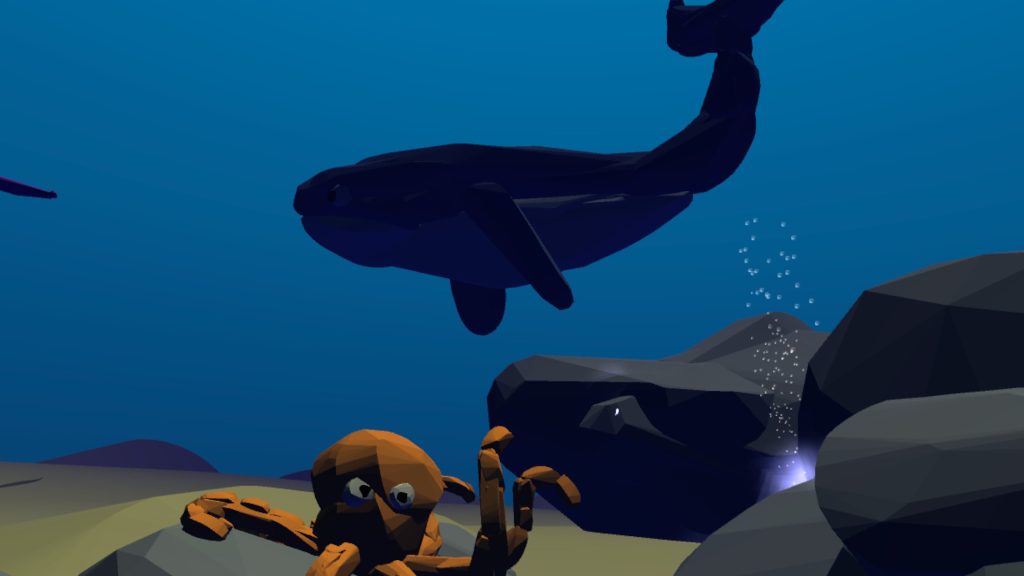
- Underwater Palace – In the second scene there won’t be any hint to what time of day it is as it’ll be fully underwater. This way the user doesn’t have to decide to experience it based on what time of day it may be. The user will then follow various underwater creatures that lead to an ocean palace. I wanted to do at least one underwater scene as I feel like they are common places that dreams take place and could fulfil the childhood want of being able to breathe underwater and move around freely. It will also lend itself well to the fly through in the final recorded version as that can just appear as the user is swimming as opposed to flying in the other scenes.
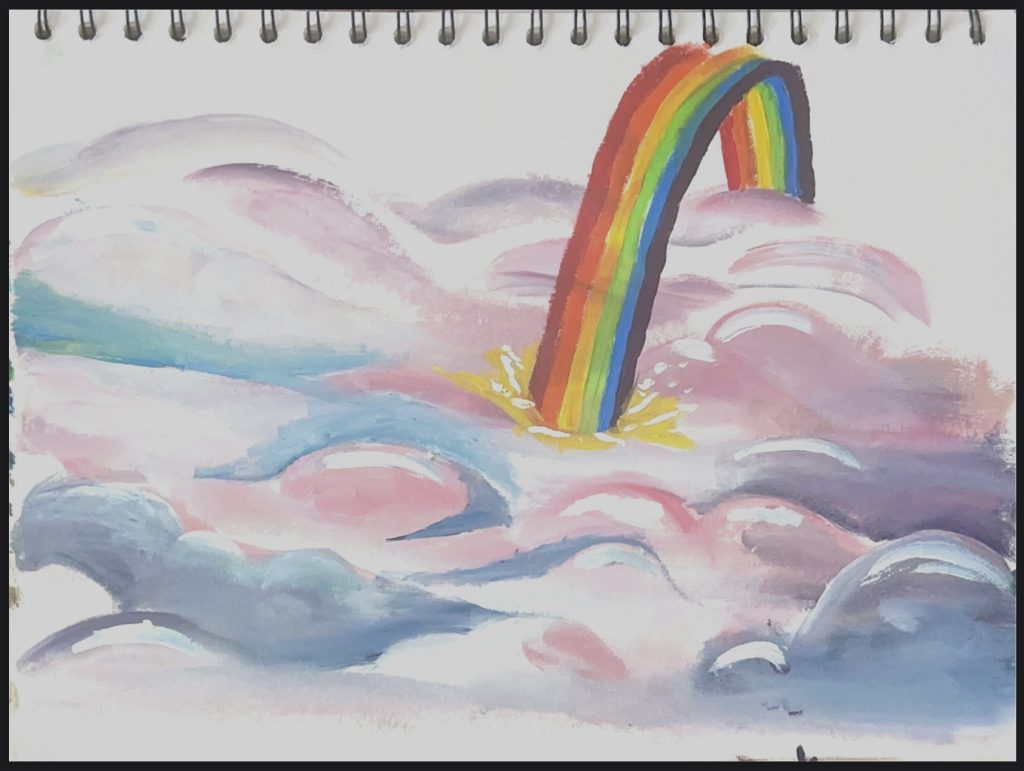
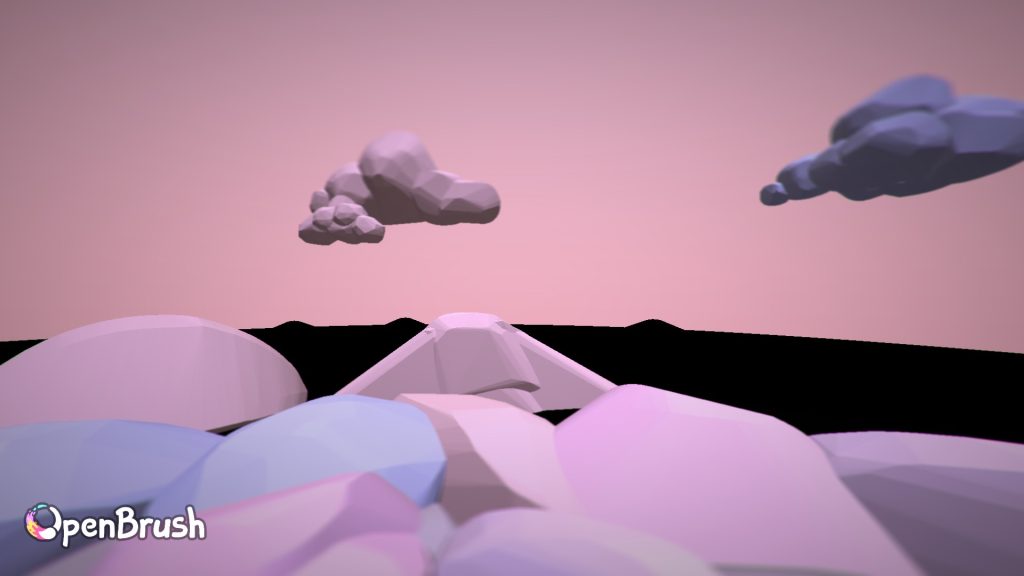
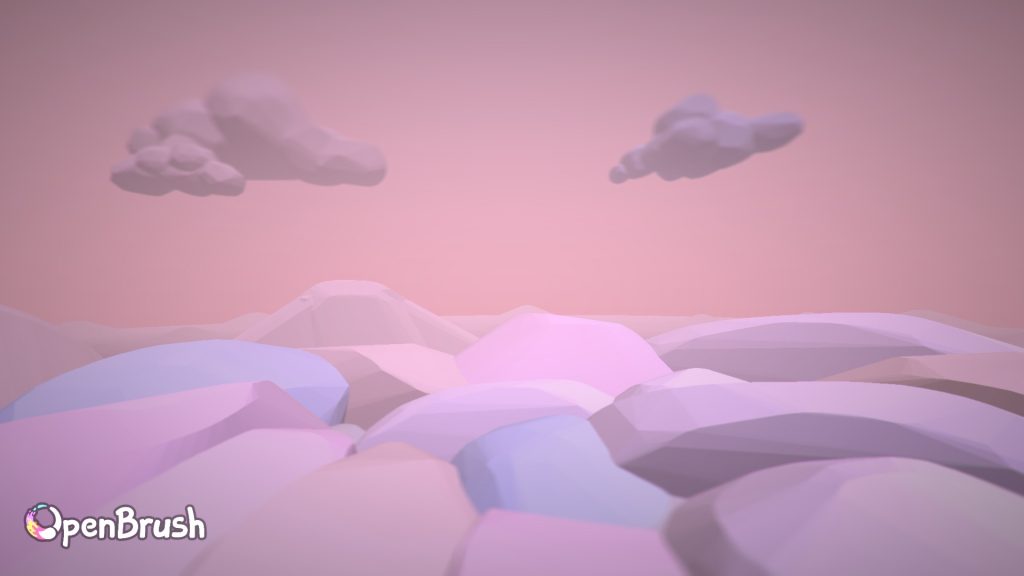
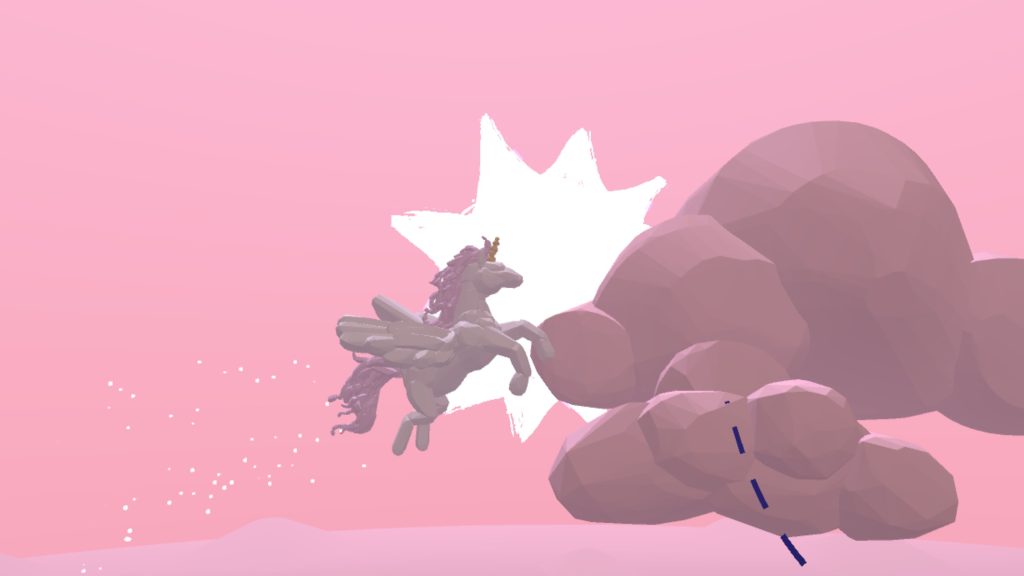
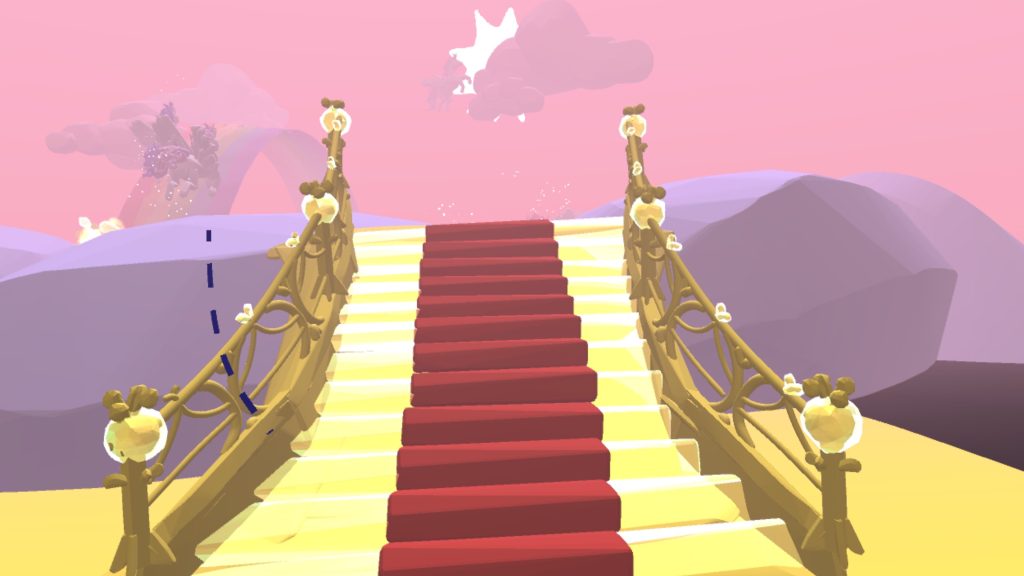
- Above the clouds – The 3rd scene will be in broad daylight in the sky and will evidently take place ‘above the clouds’. This scene will be less heavily populated in comparison to the first two as I wanted one of the experiences to look a bit more simplistic with different elements in order to target that towards people who can become overstimulated easily.
Through the many brushes Open Brush provides I believe I can paint dynamic and interesting scenes. I will make heavy use of the animated brushes in order to incorporate some movement within the scene and keep it looking more life-like.
The biggest challenge I will face will be making sure these environments give the illusion of a wide open space that the user will actually be able to pass through seamlessly and not accidentally see things that’d break the experience. Elements such as the viewer seeing borders I’ve painted in or line strokes that don’t look 3D enough could all be potential factors that lessen the immersion for the user.
Scene Mockups
Before I dove straight in to Open Brush to create the different environments I wanted to paint some 2D visuals that’d help guide me through the process. I wanted to do this as I was completely new to learning how to use the virtual software and wanted to start with something I was much more familiar with in order to get my ideas onto paper. Once I had finished the paintings I was able to use it as a physical reference I could refer back to when I needed reminding of how I wanted the landscapes to look and where everything should be placed.
This also benefited my creative process as it was easy to add different elements as I thought of them as I could instantly sketch them in, whereas it would’ve taken longer to do spontaneously on open brush.
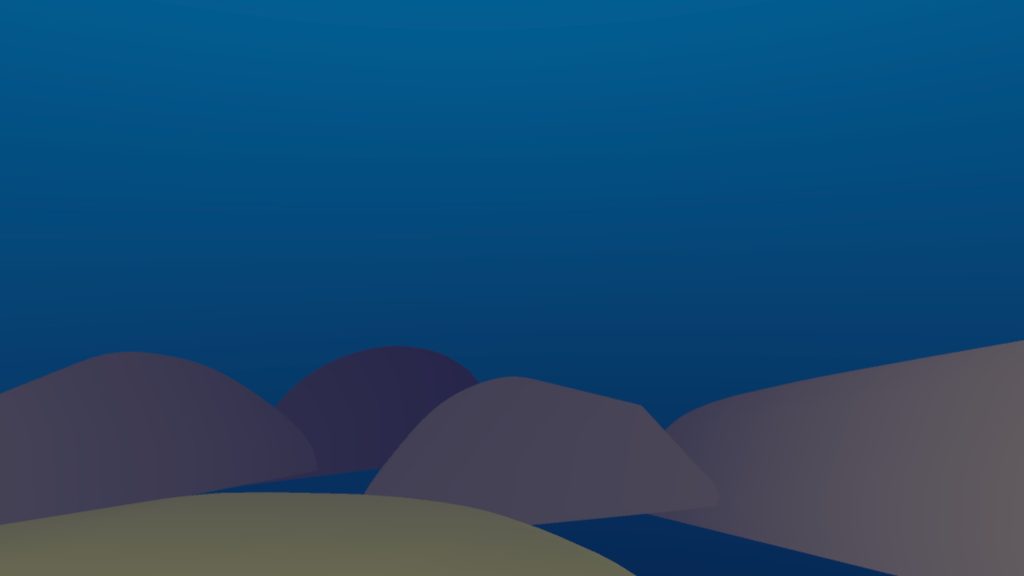
Twilight Forest:
For my first scene I wanted a darker/moodier ambience so I could utilise light sources and create areas of interest by having certain elements be lit up and other areas left in shadow. There have been psychological studies conducted (Kaplan and Kaplan, 1989) on how humans react to new environments in order to feel more safe and protected. One of these being light illuminating common place things/places in order to create a connection in that persons brain that what they’re looking at is safe and recognisable.
In this instance I used small yellow and orange dots to represent fireflies which will light up the path the user is led down in order to help them ease into the meditation feeling as calm as possible. I also wanted the pond to be a source of light in order to serve as the centre-piece of the environment; something a user could use as a way point to easily find and go back to if they were lost.
Underwater Palace:
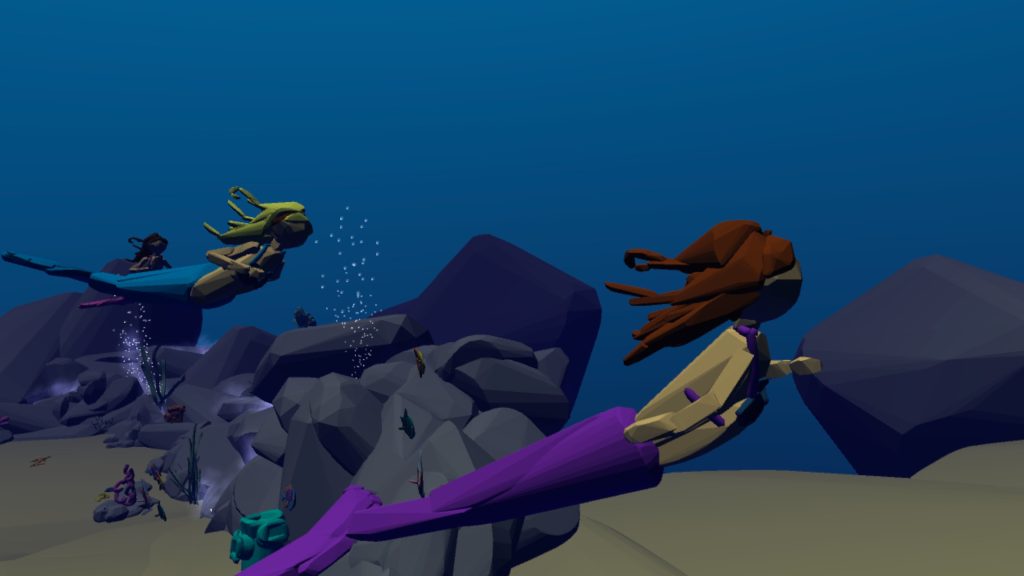
For my second environment I chose an underwater setting as I wanted it to differ from the previous forest scene. It also allowed for a seamless transition between this and the first with the water fall turning into the ocean.
As these were intended to be magical dreamscapes I wanted for some of the settings to be ones that couldn’t be achieved in real life. This one allowed for the user to ‘swim’ around with a sense of weightlessness underwater without holding their breath which I’d thought would be apropriate to induce the feeling of serenity.
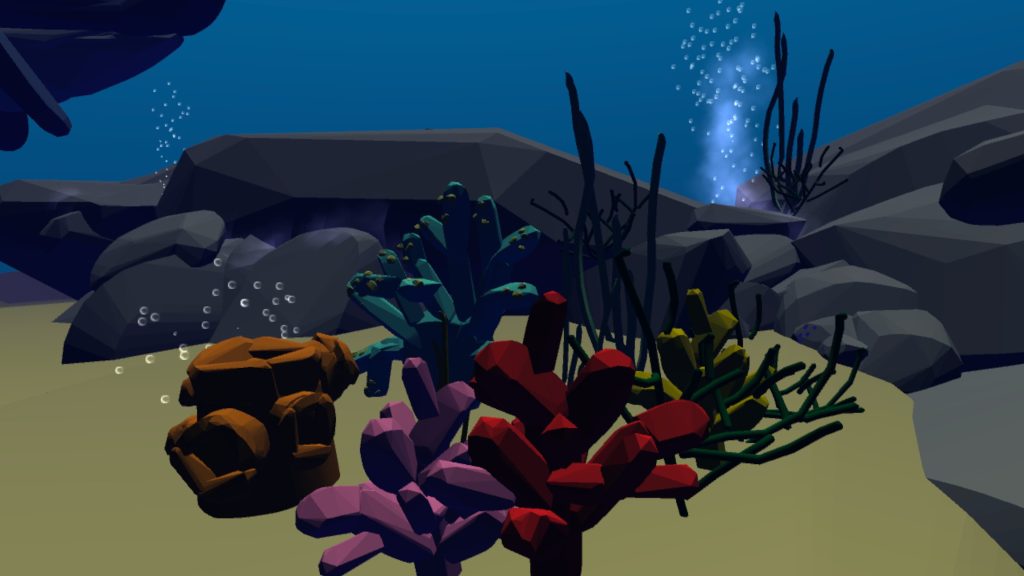
As this was set underwater it also allowed me to include lots of sea creatures within the scene which could help the user subconsciously feel a sense of community within the experience as if that they’re not completely alone in this virtual world.
Above the Clouds:
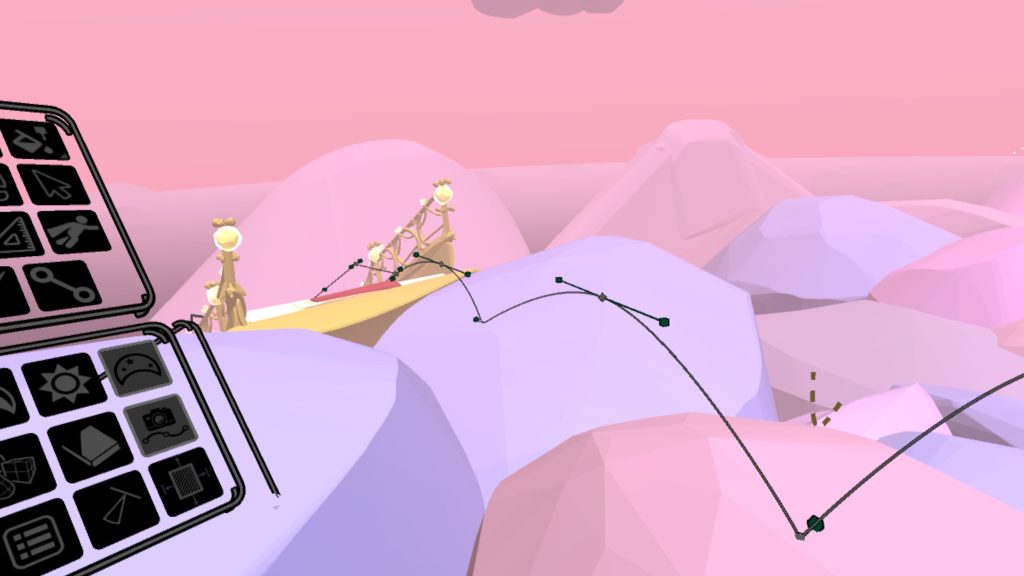
For the 3rd scene I wanted to further the feeling of wonder and weightlessness for the user by placing them in another magical setting. Instead of the focus being on all the different elements surrounding them it was instead on the freedom of movement that the more simplistic setting allowed for. By removing all of the trees and rocks that can be seen in the previous paintings I’ve opted for a more minimalistic approach where the constraints for where the user can travel have been pushed open. However, similarly to the others there is still a main focal point (the rainbow) that also coincides as a transitional point between the frames of the final project video. The use of the rainbow here is to also act as a slide for the user to glide down and experience calming effects.
Learning Open Brush
Painting and sculpting within a virtual landscape was something I was completely new to in the beginning of this project. I only had experience painting 2D and creating 3D assets which I found wildly different to the process of being able to paint 3D strokes freehand in order to create certain elements. One of the reasons being how easy it was for the element you’re painting to easily look one-sided/wonky if you didn’t take enough care to view it from all angles – as the user would also do. This made the process much slower but ultimately important as the flatness of objects could potentially ruin the immersion.
To begin with I became accustomed with all the tools in open brush in order to create shapes without wasting time. I quickly realised this wouldn’t be too easy using the standard free-form brushes as it took too long and too many strokes in order to build a cohesive shape. Instead I used the various Hull brushes which felt a lot more adjacent to sculpting rather than regular 3D painting.
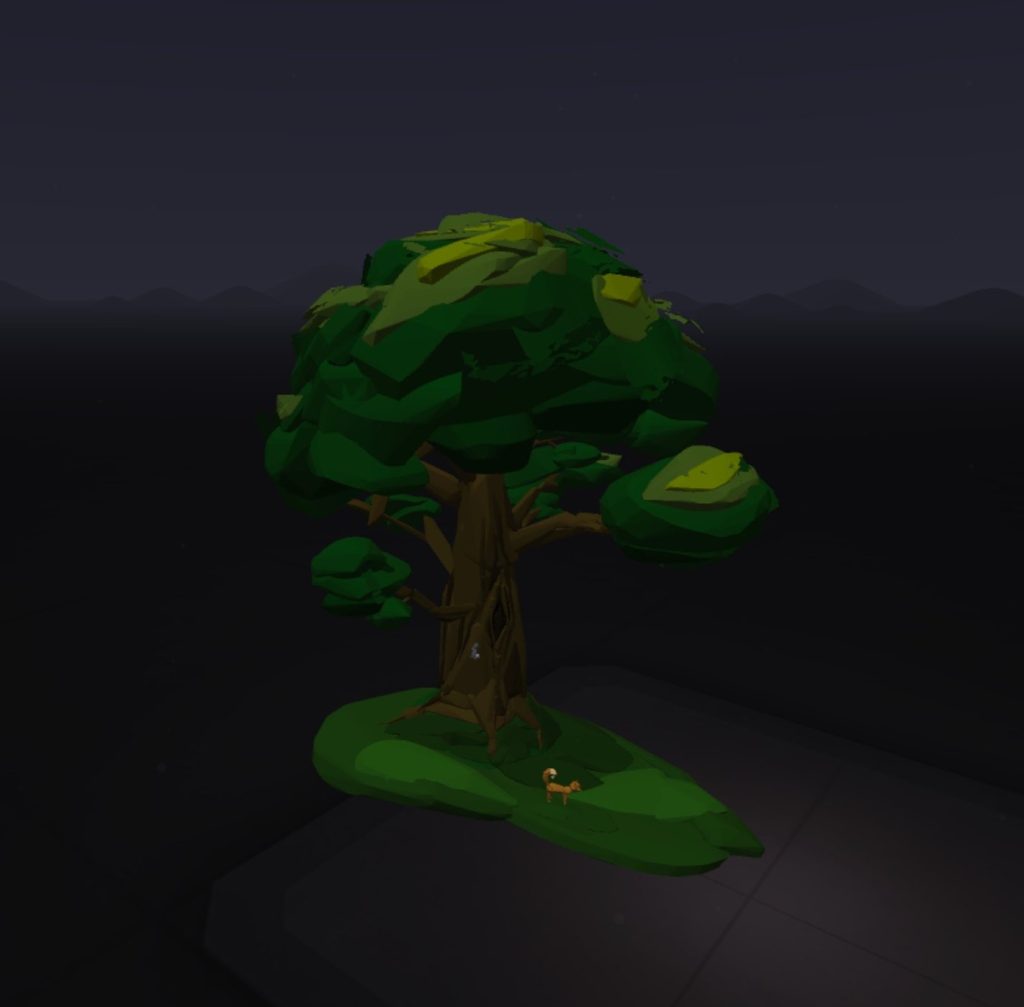
I wanted to start by practicing building a basic tree form as that will be heavily used in my first scene. The tools that Open Brush uses came in useful for this asset; I was able to use the square guide to create a base layer for my tree and then build on top of it using a sculpting brush as well as an animated one to give the effect of the leaves blowing in the wind. This was also my first insight into how shading would work in this programme which was as simple as layering lighter hues of the previous colour on top of each other to give the illusion of a light source hitting the top of the tree
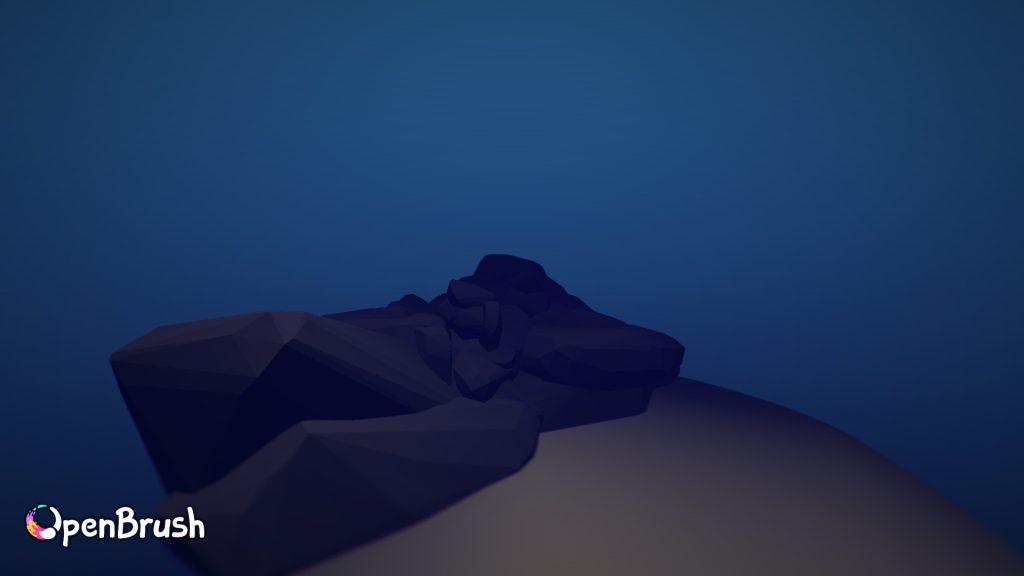
Building the environments
One of the first main issues I had when it came to creating these scenes was how I planned to create the backgrounds and what would look the most effective from the users point of view. Initially I created a dome-like structure over the entire scene to act as the sky and slowly lightened the colours as they got closer to the horizon to mimic how it would look in real life. I soon realised this gave the space a cartoonish look and made the user almost feel trapped within the space, which was the opposite of what I wanted to achieve.
After researching how others had managed to achieve making the sky and surrounding parts look semi-realistic I’d found out it was by creating 2D planes and placing them further away to give the illusion of it being 3D as the user would never actually get close enough to them for the immersion to be ruined.
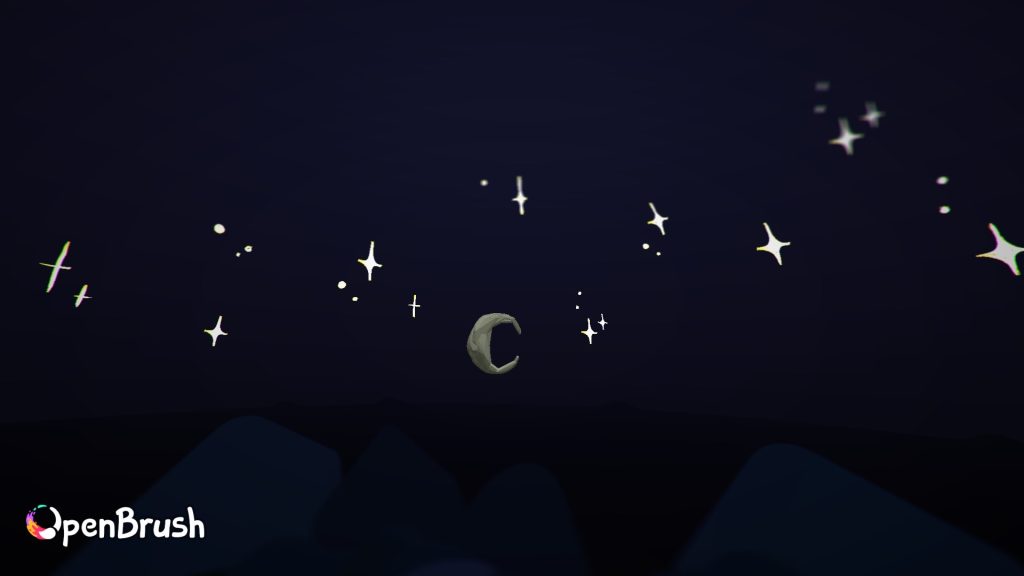
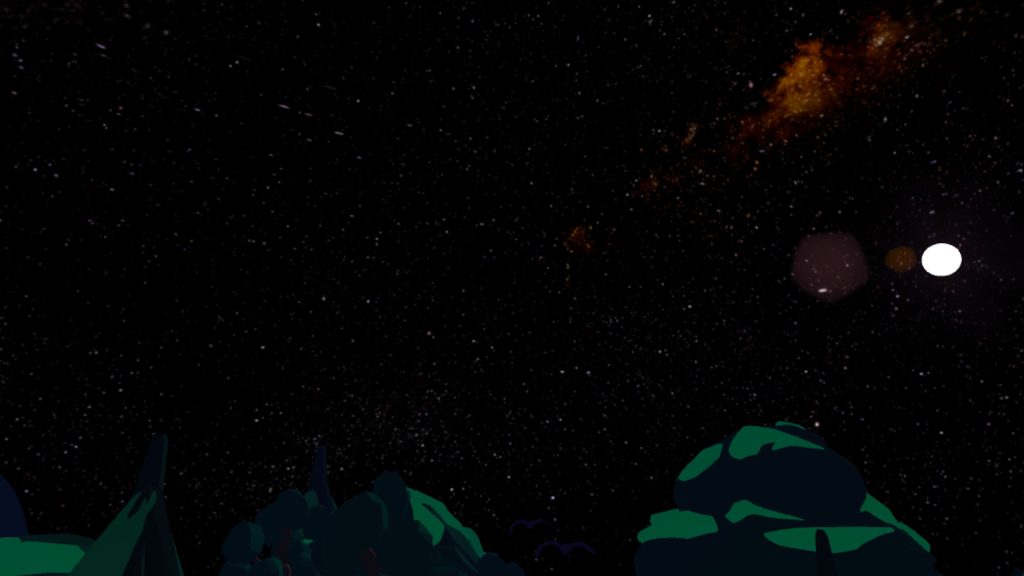
For the twilight forest I then set out to building a moon and stars that could be seen up in the night sky. However as I could only add so many assets and would’ve taken too long to fill the entire sky it made the stars look somewhat lacklustre. I then solved this issue by realising I could make the landscape background to be set in space which instantly made the man-made moon and stars look less out of place.
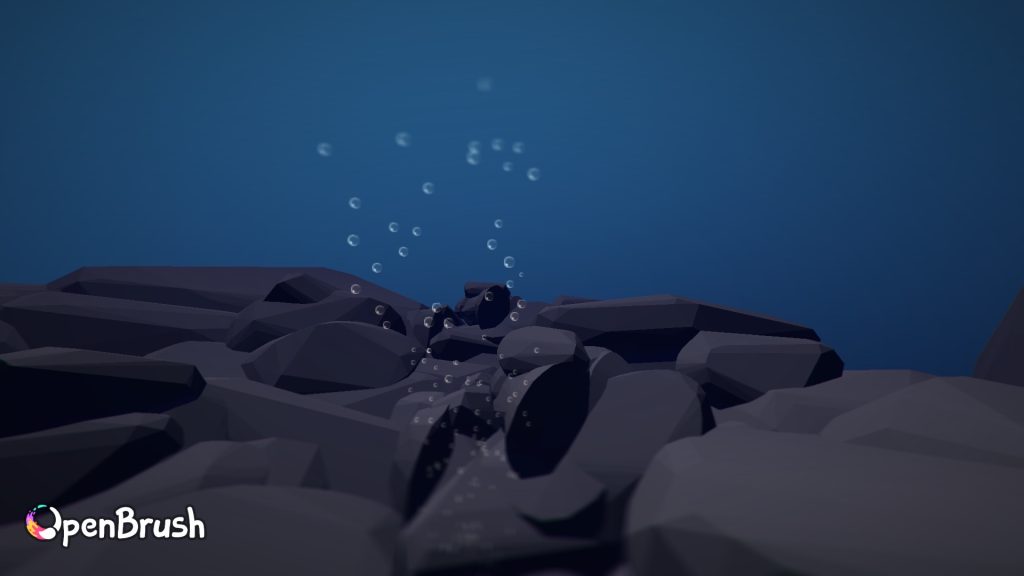
I then learnt how I could use the fog feature to my advantage in the underwater scene. By increasing the fog levels it made objects further away silhouetted until further inspection when the small details would slowly be revealed which resulted in giving higher perceived levels of depth, in turn making the world seem more 3D and life-like. This worked well for the underwater setting as you don’t have to be far away from an object underwater in order for it not to be seen due to the much lower levels of light which reach that depth.
The fog also helped here as a way of making the clouds look like they traveled much further than they actually did.
Some of the ways I also tried to heighten immersion levels in the underwater scene was the use of the bubble brush which came in great use and helped add to the effect that this was really taking place underwater and not just somewhere that had dark blue skies. Another way was by building a static mermaid tail at the beginning of the sequence where the user could look down and it could give the impression it was a part of their own body.

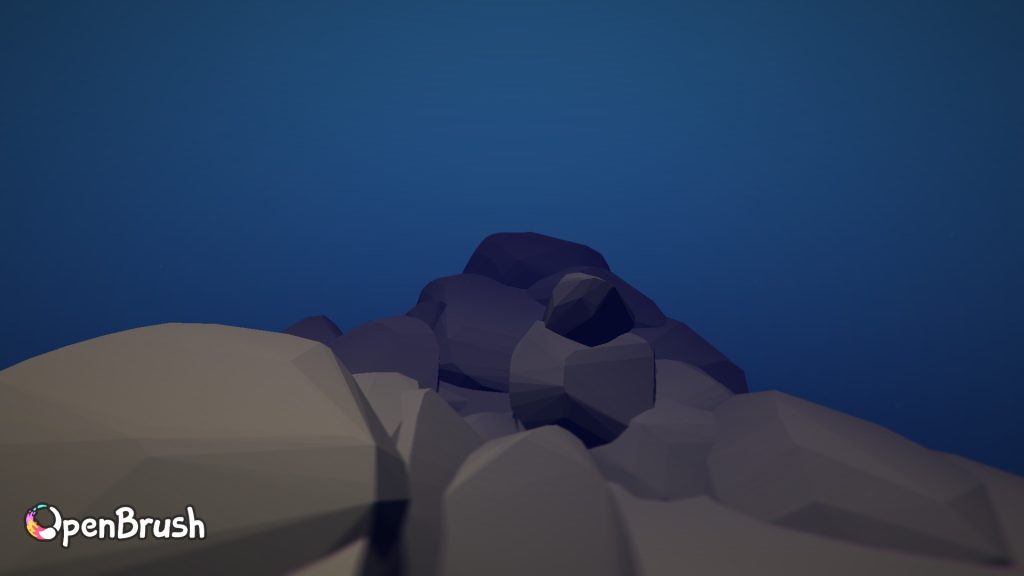
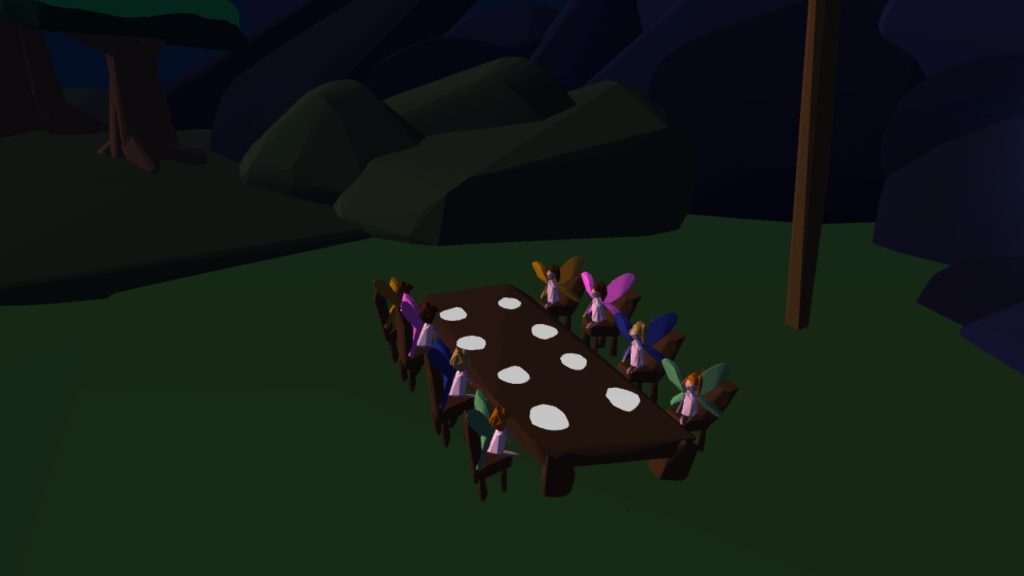
Here are some more examples of assets I’d sculpted and built inside of each of the 3 settings. Over the course of the project my understanding of how to efficiently create elements grew as well as how to make them look interesting and versatile.
A tool which made this process much more smooth was the ability to copy and paste pre-existing elements, resize them and place them somewhere else on the map. This was incredibly helpful for the forest scene as it meant I’d only have to come up with 3-4 tree designs but through the use of placement and size I could make an entire forest out of them.
To highlight certain objects to make them appear more glowy/bright I would use specific tools to illuminate them making the overall setting feeling more magical and cosy in order to translate those feelings to the user.

Logo
Although this project didn’t require a big deal of branding as the main focus is the experience itself, I still wanted to design a logo that could be used at the beginning of the video and be used as marker point to indicate what the project itself is about.
Here I’ve designed a simple logo with brand name and graphic underneath. I opted for a stark black and white contrast to mimic the look of closing your eyes before falling asleep and the feeling of slowly seeing light as you drift off into a dream. I chose the name ‘SleepWalker’ for this project as it of course relates to the action of walking in your sleep which is what the scenes are based on. It also puts the emphasis of the user being the ‘walker’ themselves and almost builds a connection between them and the brand itself.
For similar reasons I chose to create a simple eye graphic that would stay closed on all potential places where the branding is viewed, apart from times when the actual experience was taking place to which the eye would then open to indicate the user was about to wake up into the immersive world.
Here is the logo with inverted colours to showcase how it could be used on top of different backgrounds. Although this would be the appropriate version to use on lighter backgrounds in order for the visibility to be high, I still prefer the white text on top of a black background as I believe it adds more of a mysterious effect to the overall design.
Here is the animated version of the logo, displaying the introduction that’d be played at the beginning of any immersive experience.

Guided mediation
In order to create an effective guided mediation that I can overlay over my scenes I need to be aware of who my audience is and what the purpose and goal of the meditation will be. For my project ‘SleepWalkers’ I wish to create a calm and comfortable environment designed to help stressed individuals that are bogged down from Uni work, social life, any anxieties they have etc. Through the use of a calming voice talking the user through the various scenes I wish to elicit feelings of tranquillity and peace in order to fully transport them to the virtual world. I will aim to design the voiceover in a way that involves a lot of interactivity and references to the surrounding world around them in order to heighten the immersion.
Meditation Structure
The Beginning – The beginnings purpose of the mediation is to guide the person from their walking state into a meditative state. This can be achieved by getting the user to focus on their breathing and slowing their heart rate down in order for them to release tension. In the context of this project this can be keeping the user still within the environment and letting them take in the surroundings
The Middle – After shifting the users mind into a meditative state the purpose then shifts to guiding the user into their hearts and letting them deeply relax in order to promote positive change within themselves. During this stage if the user wishes to they can wander the immersive scene and interact with the various elements
The End – At the end of the mediation the purpose is to then peacefully bring the user back to a state of waking consciousness
How I applied this to my project
One of the most important questions I had for the guided meditation was for who I wanted it to be voiced by as it could completely change the outcome of the experience depending on the mood and sound of the person. I finally landed on the idea of an older voice to read the script as I knew they could possibly read more slowly than the younger generation and also have a sense of calmness to it. I asked my grandmother if she’d be able to read it as she has a good story-telling voice and I knew would be able to enunciate the words in the certain way I had envisioned.
I then set to writing the script. I tried to keep it to fairly simple language so it could be easily interpreted by anyone who wished to listen. I included mindfulness techniques within the script by reminding the user to breathe and making links to their 5 senses to make them more immersed in the virtual world. The commentary also related to what the user was currently seeing in the moment which I felt made the guided mediation more personalised and appropriate for the therapy medium I’d chosen.
Guided Meditation Script
To further enhance the audio and make it sound less empty to the receiver I layered stock ambient music beneath the meditation as well as sound effects that matched what was currently taking place in order to make the user feel like they were really there.
Challenges I Faced
Throughout this process I had many technical difficulties I had to face that prevented me from achieving what I believed was the idealistic result of this project. One of these being the lack of animated brushes I could use within the scenes due to the lack of memory space on the VR headset. I tried to overcome this by making some of the elements look as life-like as possible to almost give the illusion that it was moving when they weren’t.
Another complication arose when I realised the headset didn’t support video recordings of camera paths that I’d already created for the camera to track. This lead to me screen recording the previews of the camera paths instead of saving the recordings directly from open brush. This resulted in a slightly shaky screen and a loss in quality. In some ways I liked the loss of quality as I thought it made it appear more dream-like and foggy.
I also had to record the twilight forest scene as seen through my eyes instead of following a camera path due to the camera path function being too demanding for that file which in the end I believe looked more appealing. However this was frustrating as it took significantly less time to do this rather than the setting of the camera paths and dictating how long/short it would be and in which direction the camera would face.
Due to the nature of VR headsets I also had to be aware and plan accordingly for when I was to use it to work on the project as well as how long I would be wearing it within one sitting due to the headaches It can cause after long periods of using it. I frequently had to finish working on it earlier than I would have liked to due to my eyesight becoming blurry and feeling the effects of motion sickness.
Ethical Considerations
One of the biggest ethics considerations I had during this project was trying to be aware of how long the overall experience would take and how likely the user would be to get motion sickness from it which in turn would detract from the projects goals. The nature of virtual reality headsets can be very tricky as I had to try and find the right balance between creating an experience that illicited feelings of calmness whilst also not becoming overwhelming and dragging on for too long.
Application of Emerging Technology
Due to current trends in the modern era it makes sense to apply forward thinking practices such as immersive art experiences into a world that’s specifically becoming more focused on the mental health of youths and how positive of a change that can come from combining both mediums of virtual reality and therapy.
For this project I’ve only been able to display its functionality from my own perspective as the final project video only shows myself travelling through the different environments, however that isn’t to say the many different ways each of the worlds can be potentially explored and used to suit each of the users own needs. Whether that may be someone with a varied imagination who wants to apply storylines to the world as they look around, or someone who may just want to sit in silence in an alternate reality and quietly observe their surroundings.
I wanted this project to almost be an extension of the 2D picture books that may have been read to them as a child but instead translated into a 3D setting as a young adult. They can then possibly recognise some of the tropes I used within the art style and guided meditation and feel a sense of nostalgia from their own childhoods, resulting in a more calm and less anxious mindset.
Final Production Piece
References:
- Kaplan, R & S. (1989) The Psychological Impact of Light and Color. [Webpage] Available at: https://www.tcpi.com/psychological-impact-light-color/ [Accessed 02/01/25]
- Siff. J. (2005) Understanding the Meditative Process. [Webpage] Available at: https://www.buddhistinquiry.org/article/understanding-the-meditative-process/ [Accessed 21/12/24]
- SergePavkinMusic. (2023) Reflected Light. [Audio] Available at: https://pixabay.com/music/beautiful-plays-reflected-light-147979/ [Accessed 04/01/25]
- TazDev_music. (2024) Serene Meditation. [Audio] Available at: https://pixabay.com/music/meditationspiritual-serene-meditation-252456/ [Accessed 04/01/25]
- Ashot-Danielyan-Composer. (2022) A Meditation (Flying In The Dream). [Audio] Available at: https://pixabay.com/music/meditationspiritual-a-meditation-flying-in-the-dream-118554/ [Accessed 04/01/25]
- MIGHTUSER. (2024) Sound of hooting owls at nighttime HD. [Audio] Available at: https://pixabay.com/sound-effects/sound-of-hooting-owls-in-nighttime-hd-263177/ [Accessed 04/01/25]
- Paulus_Jo_kr. (2023) The sound of birds. [Audio] Available at: https://pixabay.com/sound-effects/the-sound-of-birds-176094/ [Accessed 04/01/25]
- Alex_Juak. (2024) Calm Zen River Flowing. [Audio] Available at: https://pixabay.com/sound-effects/calm-zen-river-flowing-228223/ [Accessed 04/01/25]
- freesound_community. (2021) Underwater Ambience. [Audio] Available at: https://pixabay.com/sound-effects/underwater-ambience-6201/ [Accessed 04/01/25]
- DanaMusic. (2024) Meditation Music (without Nature sound). [Audio] Available at: https://pixabay.com/music/meditationspiritual-meditation-music-without-nature-sound-256142/ [Accessed 04/01/25]