Prototyping my Immersive Experience
360 Content using Maya/Blender
For the first lab exercise we were to attempt to create a 360° video using quick models we had made to simulate the all-around experience and how to set it up to preview using blender, learning multiple techniques that can be used to enhance the experience and what’s important in the VR landscape.
The term “360 degrees” relates to that of a full circle so once it’s been applied to a video format we can understand it’s a video that no longer displays content from a 2D perspective but everything that is happening in all directions. By utilising this technology we can create imagery that is more interactive for the user which can help get information across in much higher detail with less communication being lost if done well
As the scenes being shown are no longer all on one screen, the user must navigate themselves through the animation and because of this there needs to be multiple elements that are well thought through in order for it to work cohesively; one of them being that you are able to fully immerse the user in a multitude of ways. If you are able to connect the user to the content using all the variations of immersion listed in the diagram below than the end result will be more successful.
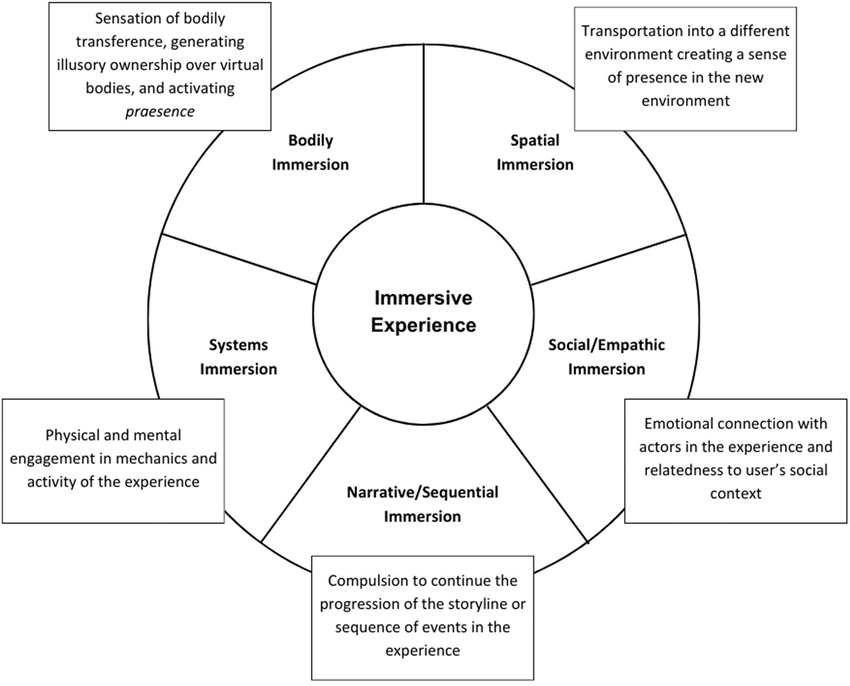
Diagram demonstrating different areas of immersion
Another important element is having a clear storyline throughout the animation, making it clear to the viewer what is happening, where they’re meant to be looking and how they’re supposed to interact with it. This may not be successful if there are too many elements that bog down the animation all at once which may confuse the user on where to look specifically. This can be helped by creating clear guides of where and what they should look at and follow.
Story Spheres
As this was my first introduction to creating 360 animated videos I wanted to make something that was simple and easy for the viewer to follow along. In the story sphere below I’ve roughly outlined the sequence of events with the monkeys flying over the cameras head allowing the viewer to move it around and view them from every angle as they move as it’s important for the user to be able to lock onto a specific object.
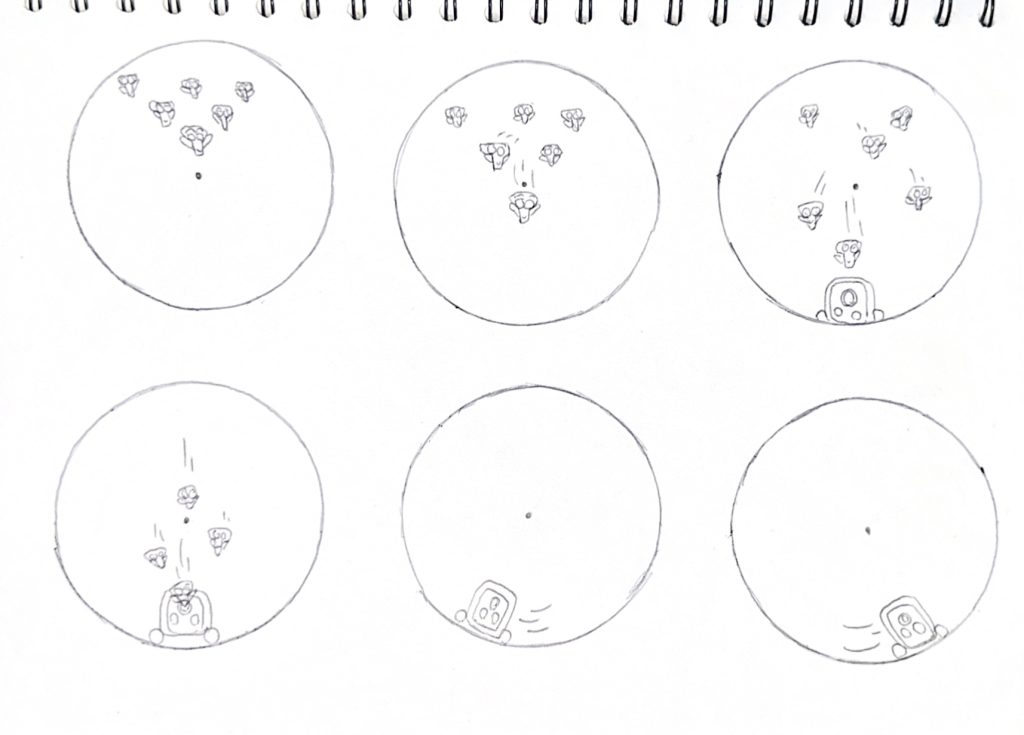
360 animation story sphere
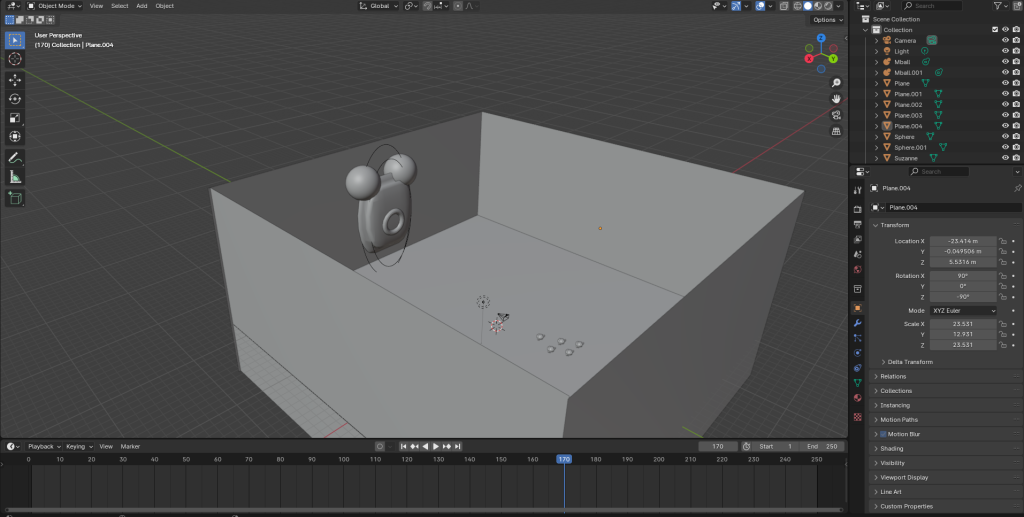
Screenshot from the environment I’ve created in blender.
Unfortunately I was not able to upload my final video using the actual 360 function that YouTube provides so the video instead displays the side by side frames without the user being able to move around freely. In hindsight I should’ve made the surrounding area a lot brighter as the black background confuses the eye and does the opposite effect of leading the viewer where they need to be.
After realising I wouldn’t be able to get it working on YouTube I instead uploaded the 360 video to FrameVR which worked a lot easier and faster with the added bonus of wanting to share it live with other potential viewers made possible.
Frame VR Exercise
For the second exercise we were to use Frame VR to create our own virtual world. Frame VR is a web-based application that can be used for collaborating on projects and creating immersive experiences where others can join and view a gallery that would not be possible to achieve in real life.
Their motto that’s used on their landing page is “Make your metaverse”, alluding to the possibilities that your able to achieve on the website. “the metaverse is the next stage of the internet where we will be able to interact in a physical space.” (Digital Learning Institute, 2023)
This is a relatively new term that has come about in recent years and refers to the emergence of 3D spaces in which people will be able to interact in lifelike ways online in professional spaces. This is exactly the expectations that Frame VR is able to provide.
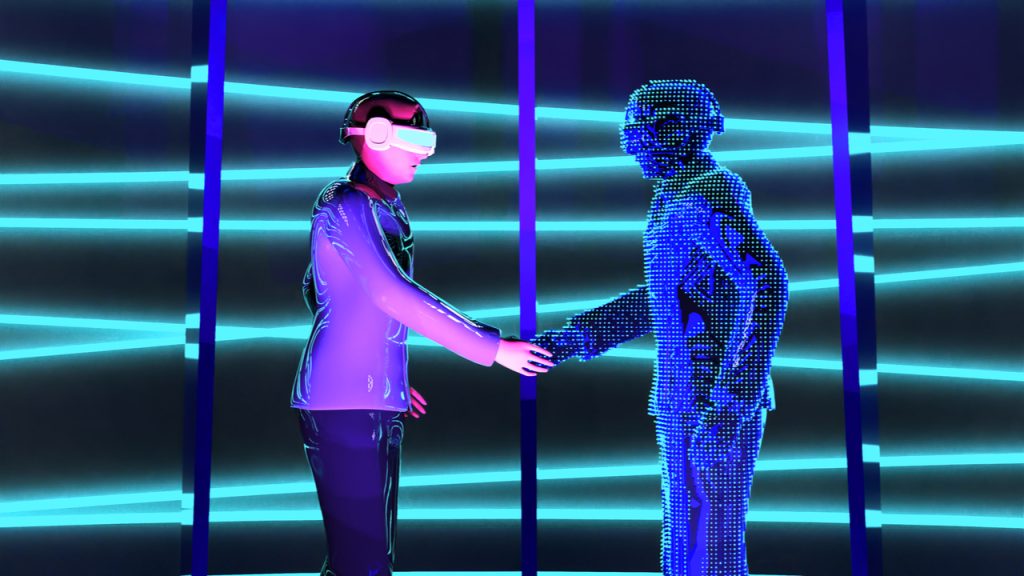
Image depicting the way people can interact virtually in this modern landscape.
Frame VR holds lots of resources and different ways a user can upload their work. Once you’ve logged into your account and created a new frame you’re able to choose between lots of different environments that suit whatever sort of project you may be working on. I chose the basic gallery for my first frame so I could learn all the functions it provides without becoming overwhelmed.
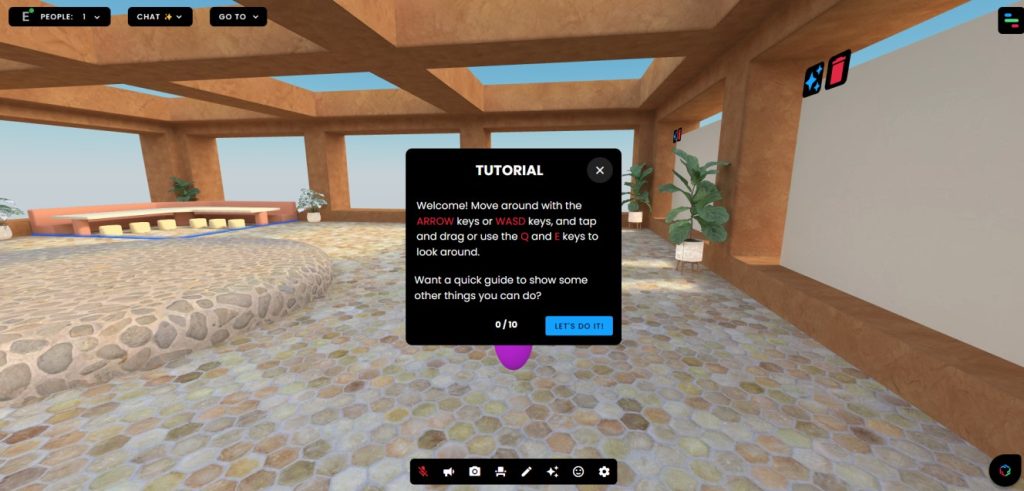
Screenshot of the FrameVR tutorial.
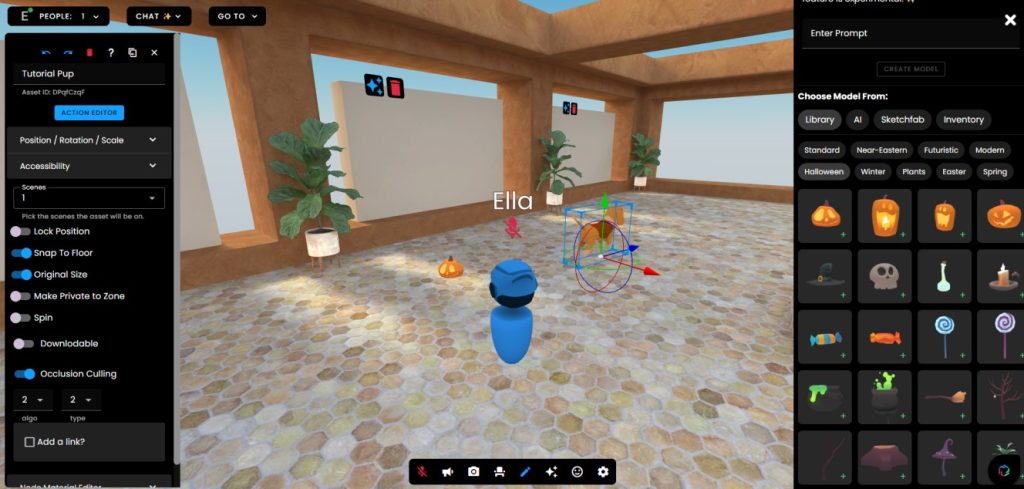
There’s lots of customization available for your frame as well as your avatar. The image on the left depicts the different colours you’re able to choose for your character, this would be useful when having multiple other people visit your environment and want to differentiate between them all easily. The right image shows all the different ways you’re able to upload your work into the classroom, even allowing 360 capabilities which you’re able to view without a headset making it readily available.

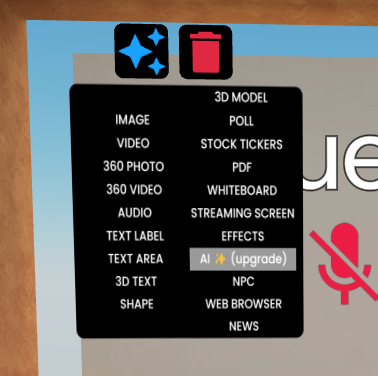
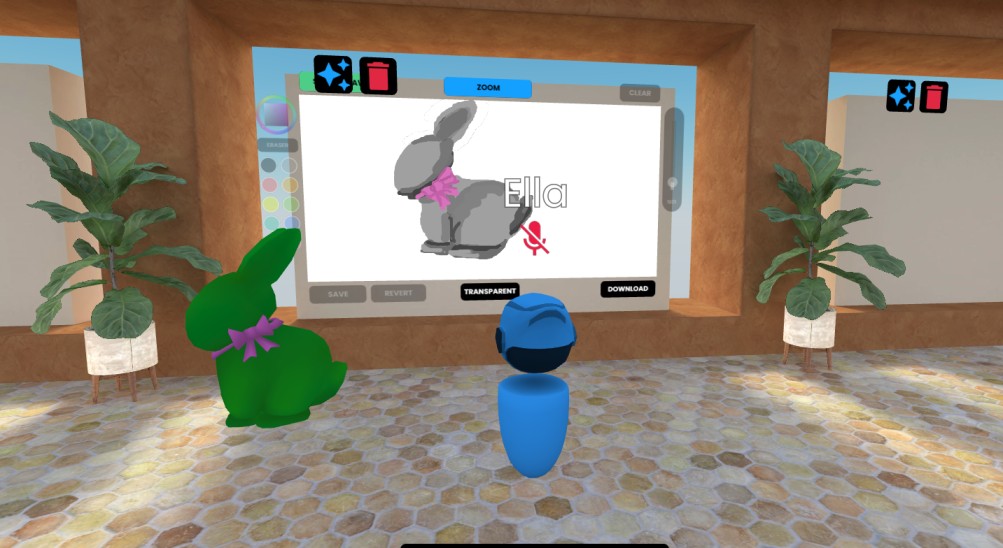
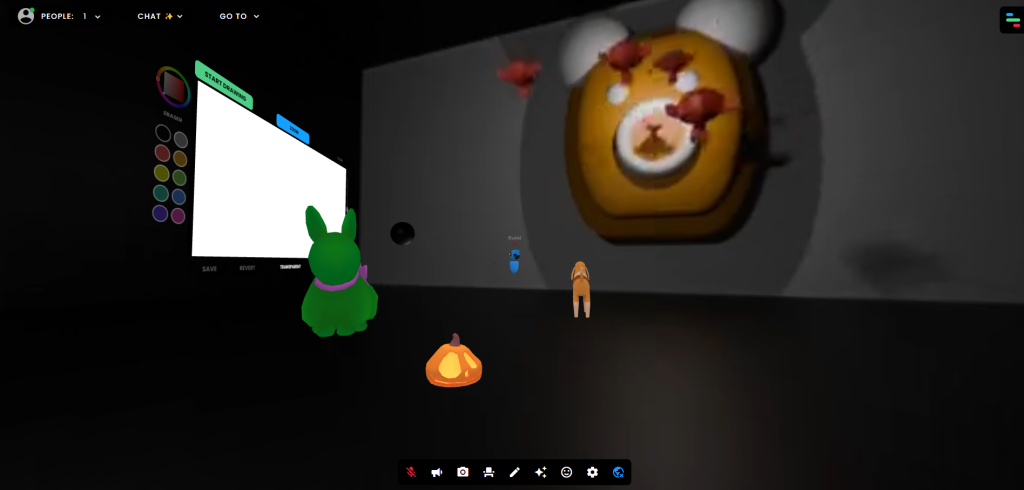
There are also many models you can import into the scene shown in the left photo which can be resized and placed anywhere within your frame to serve whatever purpose you may wish for it. There is also a whiteboard function I played around with for a bit and considered how it could potentially be used for a VR life drawing classes as I used one of the preset models to use as my reference.
As show above in the 360 video workshop I used FrameVR to upload a 360 video further showing the capabilities it holds in terms of displaying your work in any format you may wish.
References:
- Burridge, H. (2023) The revised conceptual framework for immersive experiences. [Photo] Available at: The revised conceptual framework for immersive experiences, adapted… | Download Scientific Diagram (researchgate.net) [Accessed 17/10/2024]
- Guest Columnist. (2022) How Metaverse shapes the future of work. [Photo] Available at: How Metaverse shapes the future of work – Financial Mirror [Accessed 24/10/24]
- Digital Learning Institute. (2023) What is The Metaverse? [Webpage] Available at: What is The Metaverse? | Digital Learning Institute [Accessed 24/10/24]